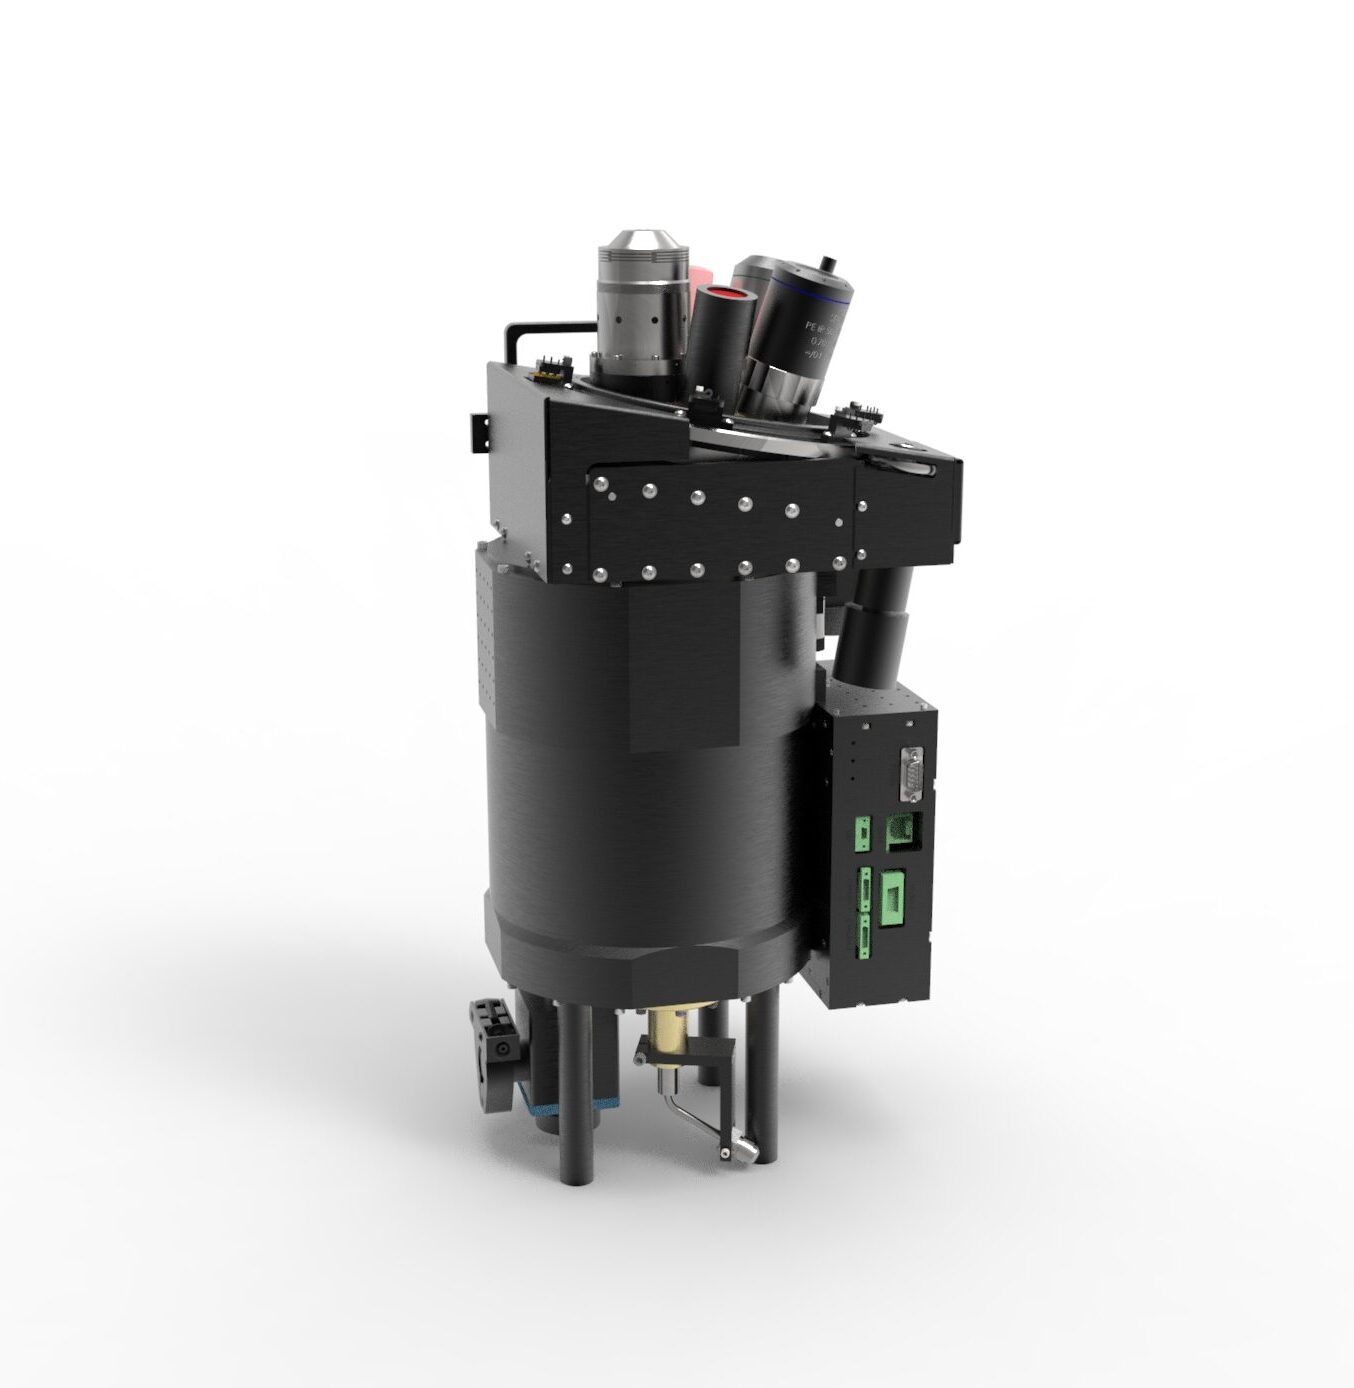
The IREM-IV photon emission microscope is ready to solve your toughest IR photon emission FA problems. For over 20 years, we have worked with the world’s leading semiconductor companies to provide the most sensitive photon emission FA tools.


  • New Option: Automated Wafer Prober
    IREM-IV users can add automated electrical contact testing of wafers to identify defects and errors with the highest reliability. The wafer prober system can accept either a custom probe card or individual probe pins and is easily programmed to collect emission data from a full wafer and store the data for analysis. Learn More

  • Customer Service Partnership
    We offer comprehensive service and support plans to ensure maximum uptime and quality for your operations, including worldwide onsite service, preventative maintenance, training, and online or telephone technical support.
  • Ultra-Low Noise MCT (HgCdTe) Camera
    The IREM-IV camera provides ultra-low noise extended wavelength PEM imaging, with proven emission imaging sensitivity on 10 nm devices operating at 400 mV. We design and build our own cameras for low-maintenance operation with superior features including a 6-position lens turret and LN2 hold time longer than 20 hours. An optical expansion port provides an upgrade path for external laser scanning OBIRCH, LADA, TIVA, and other imaging modes.

  • SIL 3.3 NA Objective
    The 3.3NA SIL objective is the latest in our family of custom designed lenses optimized to provide superior, diffraction-limited imaging over the entire field-of-view. Our patented self-aligning SIL tip automatically levels to conform to the local contour of the device under test. Our unique tip flexure design provides the lowest contact force in the industry, so it is suitable for imaging mounted devices or bare wafers.

  • Surface Profile Sensor
    The integrated profile sensor measures device surface contour with height resolution better than 10 um. Localized surface tilting from turned-down edges or device bowing can be directly measured and compensated using the tip-tilt table integrated with our precision x-y-z camera stage. When combined with our self-aligning SIL tip, the result is trouble-free SIL imaging.

  • Dual Cooled Filter/Aperature Wheels
    Extended wavelength PEM imaging is typically thermal background noise-limited. IREM-IV provides two internal cooled filter wheels so the optimum spectral filter or background limiting aperture is always available for any measurement scenario.

  • Optional Autofill Controller
    Automate liquid nitrogen fills with the programmable Autofill Controller. Equipped with an audible alarm and overfill sensor to detect and stop when capacity has been reached, the Autofill Controller can be used with IRLabs NDV and NDL series dewars. Learn More

photon emission microscope

Interested in fault analysis, debugging, power or logic mapping for your device?

We’ll analyze your sample and review the results with you for free so you can see the capabilities of IREM-IV.

Photon Emission Microscope System Features

  • Inverted Microscope Design
  • Allows docking with all common testers
  • Optional Wafer Probing Capability
  • Optional Laser Sensor
  • Measures DUT surface tilt/profile
  • Modular Upgrade Path/Optical Expansion Port
  • Suitable for integrating external laser scanned or other optical systems

IREM-IV Camera

  • 1016 x 1016px LN2-Cooled MCT Array
  • 18 micron pixel size
  • 440 – 2500nm Spectral Range
  • 6 Position Motorized Lens Turret
  • 6 Position Dual Internal Cooled Filter/Aperture Wheels
  • >20 Hour LN2 Hold time

Motion System

  • 25nm Resolution
  • 100mm Range (x-y-z)
  • Damped Vibration Isolation
  • Motorized Sample Tip-Tilt Option

AIRIS Software

Controlling the IREM photon emission microscope is easy with AIRIS software which also provides comprehensive image analysis and test project management tools:

  • Navigate to any point on your sample by clicking on any open image
  • Point database for rapid return to multiple points of interest
  • Create large field-of-view, high resolution mosaic images
  • Automate measurement tasks with AIRIS scripting

Project windows provide separate work areas for all your AIRIS data:

  • Organize data and notes into project workspaces that can be reopened later.
  • Create sticky notes anywhere in the project window with the click of a button. Use them to summarize results, test conditions, etc.

System Dimensions

Microscope

  • 810mm x 876mm x 813mm
  • 160kg

Electronics Rack

  • 610mm x 1283mm x 762mm
  • 90kg